TIF 2018.5.0 Release Information 2018-10-24
Database Changes
This release contains some changes to the internal database within TIF.
These changes are applied when starting the TIF server the first time after upgrading. Subsequent startup of TIF are not affected.
|
If your database contains large amount of data, then this first time start-up after upgrading may take a few more minutes than normal. DO NOT ABORT/KILL THE TIF PROCESS DURING THIS UPGRADE PHASE. THIS MAY CORRUPT YOUR DATABASE. |
New Features
Data Indexing and Searching
You can achieve better performance and search capabilities by integrating a search engine with the TIF Admin UI. As of this release, TIF supports using the Elasticsearch (https://www.elastic.co/) engine together with TIF.
Using a search engine will not only help you to easier find and identify errors in your integration use-cases, it will also reduce a lot of load on the TIF server since many internal queries from the Admin UI to the internal database are relatively costly to execute.
It is a straightforward and easy operation to integrate with Elasticsearch. You only need to download and install Elasticsearch as a standalone service, and then add two properties in TIF to point out the Elasticsearch URL.
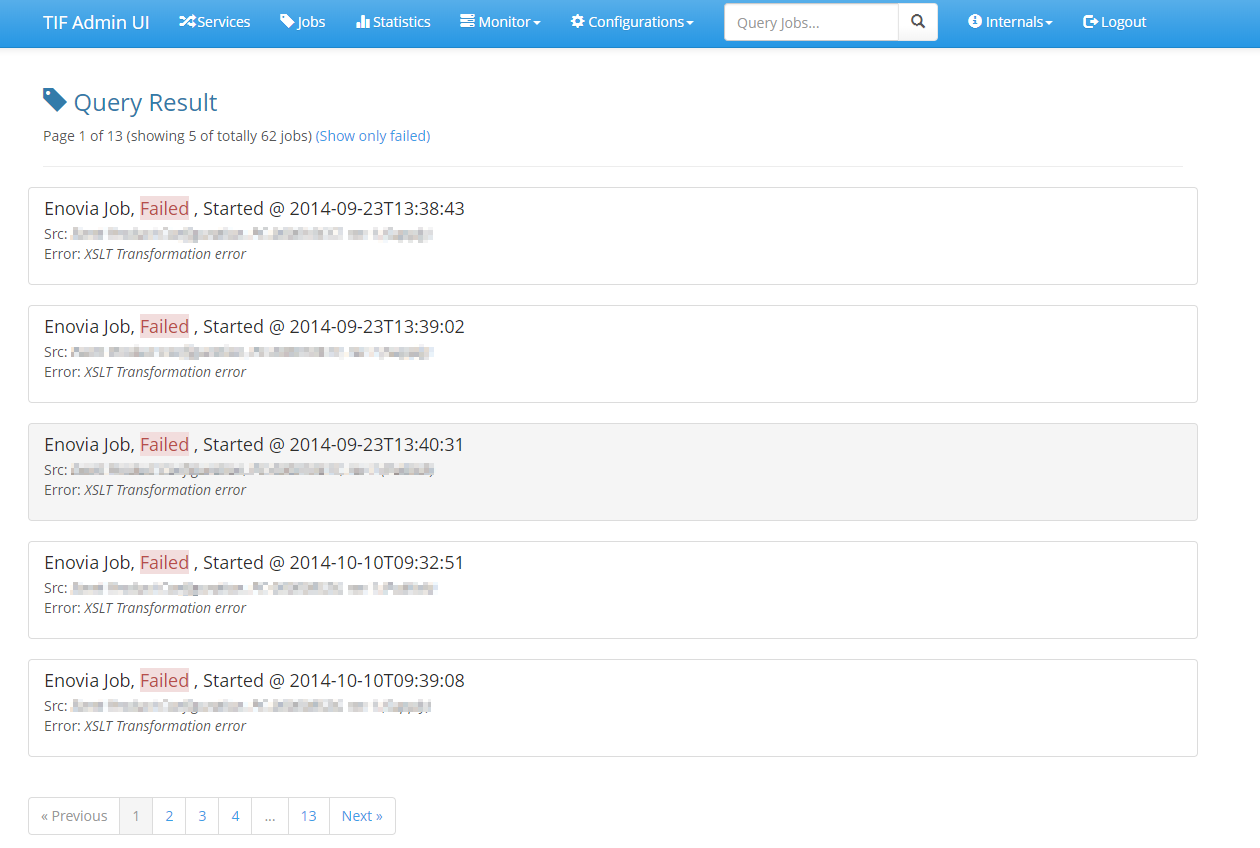
Below is an image showing new global search field in Admin UI after enabling the Elasticsearch Integration.

Scheduler Improvements
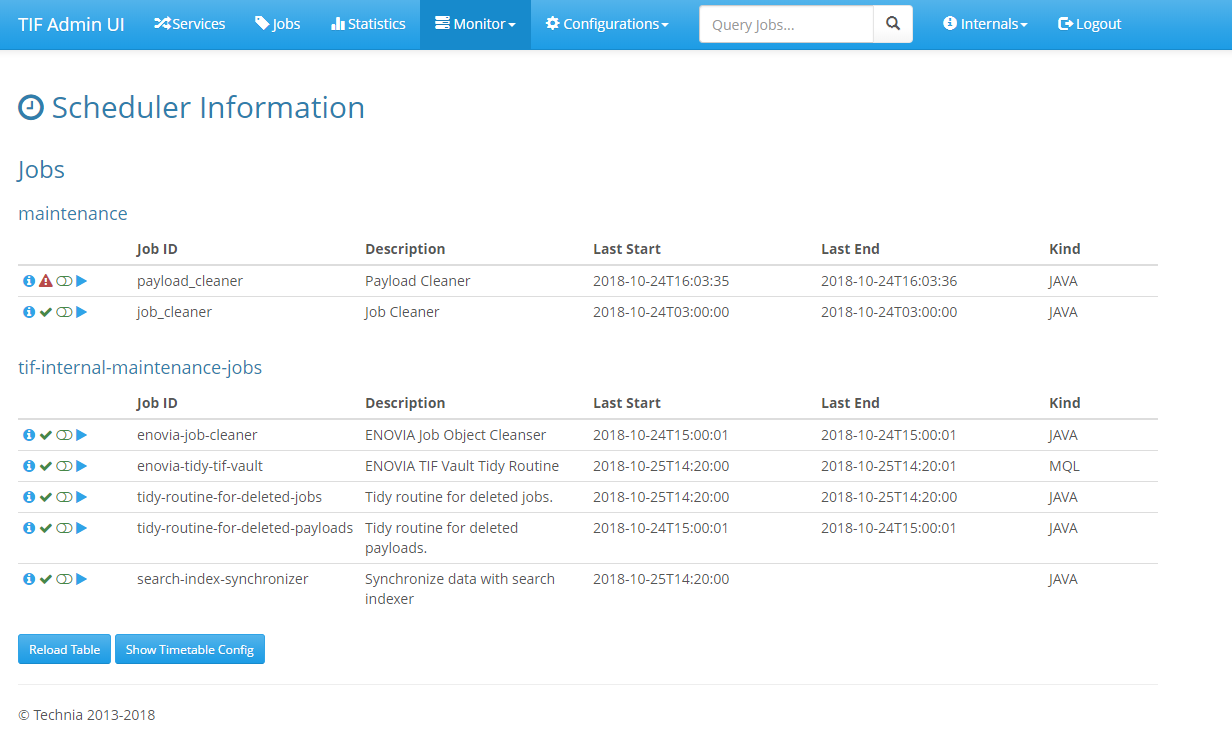
The result of the last executions per job is now saved in order to be able to find possible errors. You can from the Admin UI see these logs.
The Admin UI related to the Scheduler have been updated, see the screenshot below.

From this view you inactivate/activate specific jobs, see if a job has terminated with errors. You can also trigger a scheduled job to start instantly and not wait for the next triggering time.
| The state of a job will be persisted. E.g. if you inactivate a job and restart the TIF server - the job will still be inactivated upon the next start-up. This is a behaviour change compared to earlier version. |
Conditionally Inclusion of Destination
You may now specify conditions that must be met in order to transfer the payload to a certain destination.
Within the job configuration, the destinations now support two different attributes called if and unless.
Here you specify the name (or names) of a property/parameter that must be OR must not be present on the Job itself in order to transfer the data to the destination in question.
An example of such is shown below:
<Job>
    <Name>Test Job</Name>
    <TransferData>
    	<Payload>tvc:payload/BasicInfo.xml</Payload>
    	<Destinations>
            <Http id="http-1" if="send.to.1" />
            <Http id="http-2" unless="send.to.1" />
    	</Destinations>
    </TransferData>
</Job>
In the example above, either the destination http-1 or http-2 will be used, depending on the precence of the parameter send.to.1.
The if and unless attributes may be used in conjunction to each other as well.
Link to Job Configuration in Job View
In Admin UI, there is a link to job configuration in job view. The job configuration is displayed in jobs that belong to service of type ENOVIA/3DEXPERIENCE.
Create New Job with Job Events
It is possible to create new jobs with <NewJob> event handler. The handler supports injecting custom code to specify input for new job.
An example configuration:
<Job>
    ...
    <Events>
        <Success>
            <NewJob jobcfg="tvc:jobcfg/MyJob.xml" ... />
        </Success>
    </Events>
</Job>
Delete Service and Jobs
Service and its jobs can be deleted from Admin UI. The options are available in the "Actions" menu of service view.
Create Job Without Providing an Object ID in Admin UI
In Admin UI, it is possible to create a new job without providing an object id.
The form for creating new jobs can be accessed from the "Actions" menu of the "Jobs" view.
JAR File Exclusion
The list of JAR file exclusions is now combined of two properties exclude.jar.file.pattern.defaults and exclude.jar.file.pattern. Defaults contain exclusions that prevent known JAR file conflicts and usually should not be modified.
Instead, it is recommended to add exclusions by configuring exclude.jar.file.pattern. The configuration is done within ${TIF_HOME}/modules/enovia/etc/module.custom.properties.